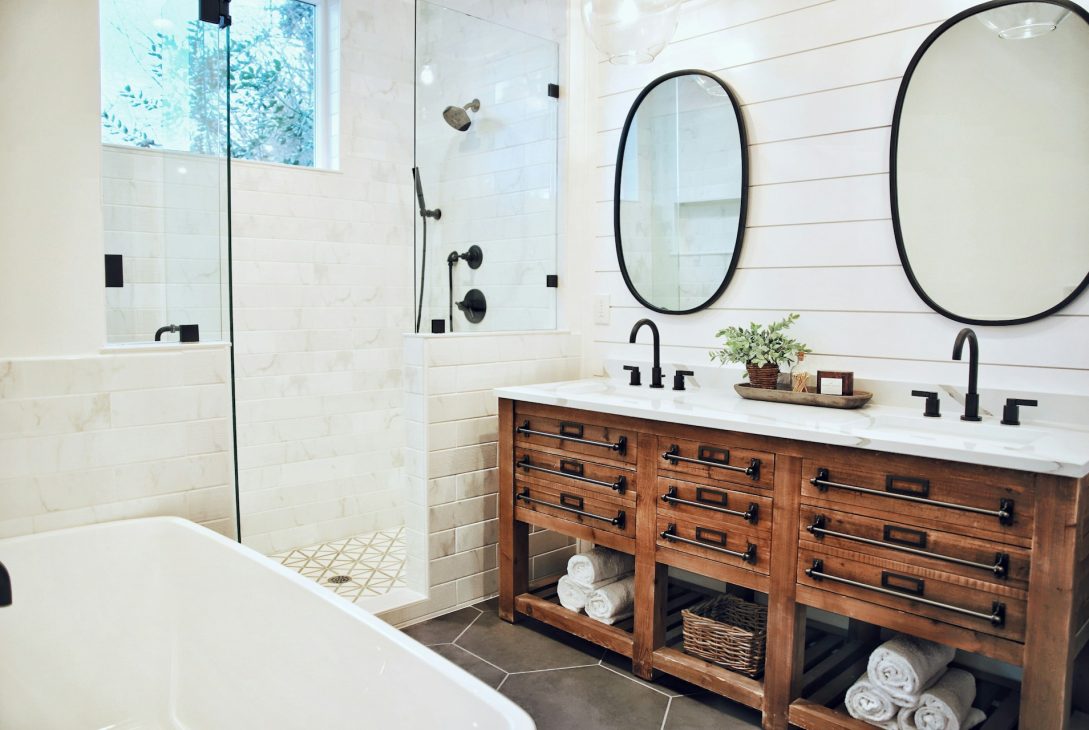
A bathroom renovation blends practical upgrades with personal style, revitalizing a key area of your home. It’s a chance to improve your daily routine and increase property value. Wondering where to start? Whether you’re a DIY fan or a newcomer to home improvements, this guide will help you through the renovation process for a seamless and rewarding bathroom makeover.
Step 1: Planning Your Bathroom Renovation
Before you unscrew the first wall bracket, step back and get a clear vision of what you want from your new bathroom. Here’s how to plan with precision:
Assess Your Needs
What do you love about your current bathroom, and what’s driving this renovation? Perhaps you need more storage, a better layout to ease the morning rush or accessibility features. List these must-haves, which will form the foundation of your renovation needs.
Set a Realistic Budget
Budgeting is the least glamorous but most crucial aspect of any renovation. Be sure to set aside 10-15% for unforeseen expenses. If numbers aren’t your thing, tools like a bathroom renovation cost calculator can provide a helpful starting point.
Create a Design Plan
Gather inspiration from magazines, Pinterest, or visiting showrooms. Consider the style you want – whether it’s contemporary, traditional, minimal, or luxurious – and how it should complement the rest of your home.
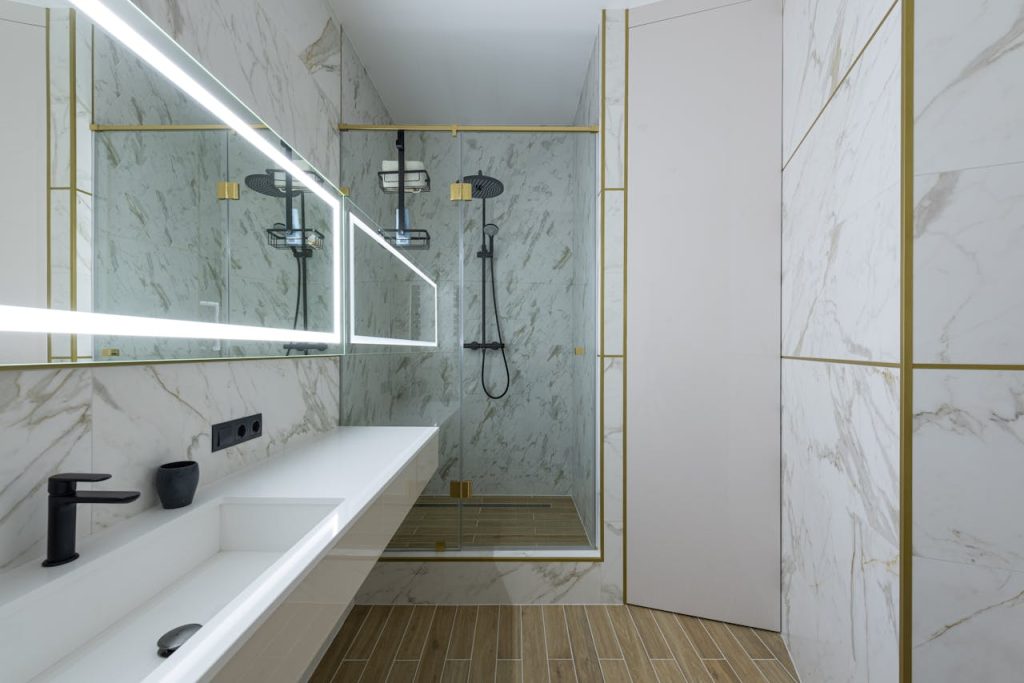
Step 2: Choosing the Right Materials
The materials you select will dictate the durability, look, and feel of your new bathroom.
Flooring
Choose water-resistant flooring like ceramic tiles, vinyl, or stone for longevity. Non-slippery surfaces are a must, especially if the bathroom is frequently used by children or the elderly.
Walls
Tile is the most popular wall material for bathrooms because of its waterproof properties and vast design options. If you’re on a budget, consider tiling only in areas that get wet.
Fixtures
Select fixtures like a bath mixer tap, sink, showerhead, and toilet that not only look good but also are efficient and fit within your design theme. Consider energy-efficient models to save on running costs.
Lighting
Develop a lighting scheme that balances task lighting (above or beside mirrors), ambient lighting (chandeliers or wall sconces), and accent lighting (to highlight design details or architectural features).
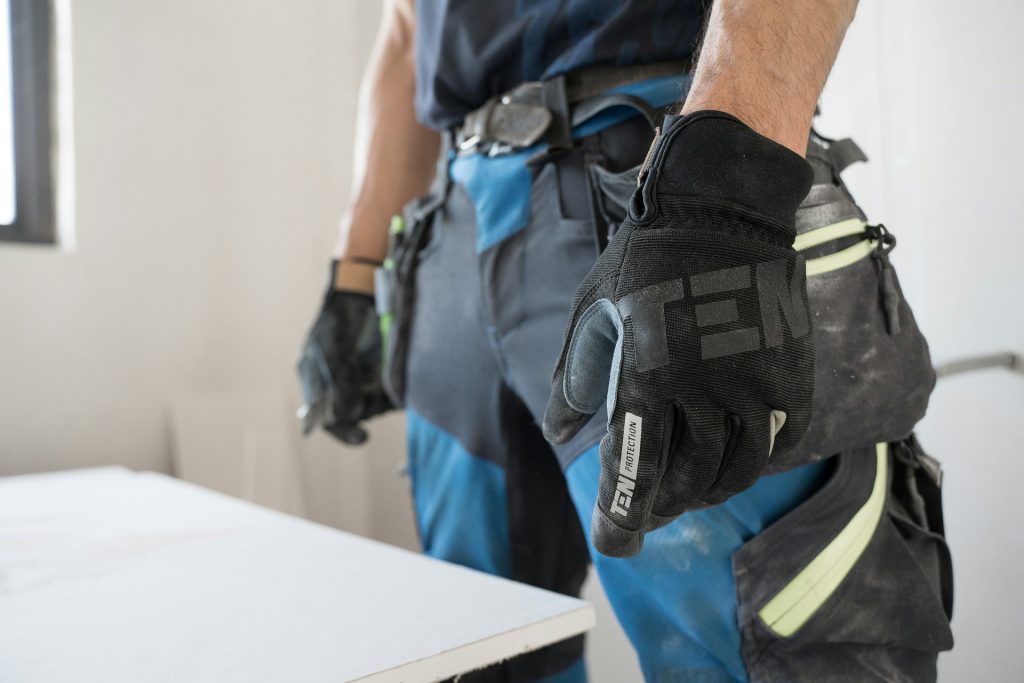
Step 3: Hiring Professionals vs. DIY
Deciding whether to hire professionals or tackle the renovation yourself is an important decision.
Pros of Hiring Professionals
- Expertise. They know the ins and outs of complex installations.
- Time. Professionals work quickly, minimizing the time your bathroom will be out of commission.
- Warranties. Many professionals provide guarantees for their work.
Pros of DIY
- Cost. Labour costs can be a significant portion of your budget.
- Flexibility. You can work on your schedule and make changes as you go without extra charges.
- Pride. A successful DIY project can be incredibly satisfying.
Tips for DIY Success
- Research and Learn: Understand the process before starting. There are plenty of tutorials to guide you through each step.
- Practice Makes Perfect: If you’re new to a specific task, consider practising on scraps or in a less visible area.
- Use the Right Tools: The right tool can make all the difference in quality and efficiency.
Step 4: Ordering Supplies and Scheduling Work
Efficient sourcing of materials and coordination of the renovation schedule are critical for a smooth project.
Sourcing Materials
Research trustworthy suppliers, order samples, and select the source that best fits your budget and timeframe. Don’t forget to order extra tiles for breakage and future repairs.
Coordinating Work
If you’re hiring professionals, make sure to get multiple quotes and check references. Create a timeline that accounts for each stage of the renovation and build in time for any delays.
Step 5: Renovating Your Bathroom
It’s time to roll up your sleeves and start transforming your space. This is the most involved step, and it’s important to have a clear process in place.
Demolition
Carefully remove existing fixtures and surfaces. If this is your first time, proceed slowly and cautiously. Remember, safety first!
Installation
This is where the design and planning come to life. Correct installation of plumbing, electrical, and your chosen materials is crucial for the longevity of your new bathroom.
Finishing Touches
With the major elements in place, it’s time to add the finishing touches – painting, grouting, and sealing for a polished look.
Step 6: Post-Renovation Care and Maintenance
Your new bathroom looks stunning, but the work isn’t over yet. Proper maintenance will keep it in top shape.
Cleaning and Grouting
Keep up with regular cleaning to maintain the newness of your bathroom. Every couple of years, inspect and repair grout to prevent water damage.
Plumbing and Fixtures
Check for leaks and maintain all fixtures according to the manufacturer’s recommendations. A well-maintained bathroom is a long-lasting one.
Ventilation
Good ventilation is key to preventing moisture issues. Ensure your bathroom has a vent fan or window, and use it after every shower.

Conclusion
Renovating your bathroom is an investment in both your home and your well-being. With careful planning, the right materials, and a methodical approach to the work involved, you too can enjoy the rewards of a beautiful and functional bathroom. Now that you have the roadmap, it’s time to get started. Happy renovating!